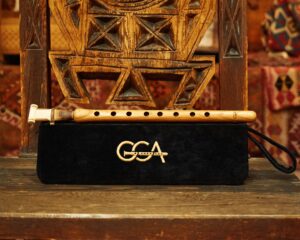
Duduk Special Gift Set in a Hard Case
Enhance Your Duduk Experience: A Special Gift Set in a Hard Case
Join us to delve into the fascinating realm of conducting the first lessons for learning to play the duduk! In this blog, we will guide you through preparing the instrument, teaching correct placement, overcoming pronunciation difficulties, and introducing initial exercises. Let’s explore the world of duduk music together!
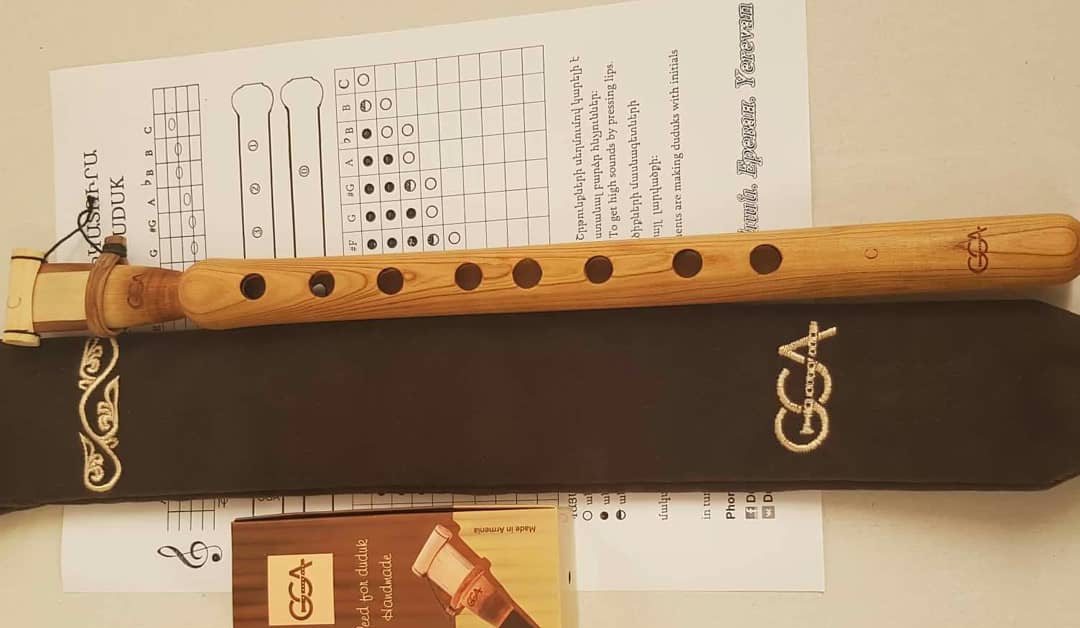
To conduct the first lessons, you should start by preparing the instrument. Take a few drops of water and put them into the reed. After some time, empty it, close it with a screw, and wait for 15-20 minutes before starting to play. It is important to show the student the placement of the duduk on the lips, as well as the inhalation and exhalation techniques of sound production. The lips should hold the reed and slightly puff the cheeks to separate the inner walls of the lips from the gums and teeth, creating an air space.

Once the difficulties of correct pronunciation are overcome, you can proceed with the initial exercises. It’s worth noting that the duduk has two applications. The first application is simplified, where the little finger of the left hand is not used. It is used during the initial training period.
The second application is more complex and is used starting from the second grade due to the presence of multi-character gammas and pieces where all fingers of the hands are involved.
To develop the student’s aesthetic taste and stimulate interest in the lessons, it is desirable to frequently add new musical materials to their playlist. During the first year of learning, the student should master duduk playing techniques and acquire basic performance skills.
Enhance Your Duduk Experience: A Special Gift Set in a Hard Case
Duduk Instrument Prices There are a number of factors that can affect

GGA represents professional musical instruments, that are recognized all over the world. The instruments are exclusively hand-made works. Feel the spirit of the orient music.